Kitchen hood cleaning comes down to one rule: break the grease down before you try to wipe it away, not after. If your range hood looks dull, feels tacky when you touch it, or isn’t pulling smoke and steam like it used to, that’s grease: not dirt. Grease builds up in a thin film every time you cook, and once it’s had a few weeks to harden, wiping it with a damp cloth just moves it around. That’s the whole method, and it works whether you’re dealing with a stainless hood, a painted one, or the mesh filters underneath.
Here’s how I do it, plus how to keep it from getting this bad again.
Quick answer: Clean a greasy range hood in three steps: take the filters out first, degrease the hood body, then reassemble and check the fan. Know whether you have metal mesh or charcoal filters, since they are handled differently.
Why range hoods get greasy so fast
This is the part that makes kitchen hood cleaning necessary in the first place: every time you fry, sauté, or even boil something with oil in it, tiny grease particles ride the steam up and land on the nearest cold surface: which is almost always the underside of your hood and its filters. It’s not a sign you’re doing anything wrong. It’s just physics. The problem is that grease is sticky at room temperature, so instead of drying off, it stays put and collects more grease, then dust, then more grease. Give it two or three months and you’ve got a film you can write your name in.
If you cook often, especially with oil, plan on real kitchen hood cleaning every 4 to 6 weeks. If you mostly boil pasta and reheat leftovers, once every couple of months is fine. The filters need attention more often than the hood body itself: more on that below.
A greasy hood isn’t just a cleaning problem, either. A clogged filter can’t pull cooking odors out of the room the way it’s supposed to, so grease buildup is often the real reason last night’s dinner still hangs in the air the next morning. If odor control is the actual goal,ventilation matters more than any spray or diffuser: a working hood is doing more of that job than people give it credit for.
What you actually need
Kitchen hood cleaning doesn’t need a specialty “range hood cleaner” spray unless you already own one. Dish soap made for cutting grease plus hot water handles almost everything. If you’re building out a kitchen cleaning kit from scratch, see The Simple Kitchen Cleaning Kit for a Calm, Rustic Kitchen]: here’s exactly what’s in my kit for this job:
– Arm & Hammer baking soda: a full box, not the little fridge one. You’ll use it in the soak and in the paste for stubborn spots.
–A degreaser: the workhorse of kitchen hood cleaning. Krud Kutter Original or Zep Citrus Degreaser both cut through hardened grease without needing much scrubbing. If you’d rather skip a dedicated product, hot water, dish soap, and a splash of white vinegar does a decent job too.
– Microfiber cleaning cloths: buy a multi-pack. You’ll go through several per clean since a grease-loaded cloth just smears rather than lifts once it’s saturated.
–Rubber cleaning gloves: degreaser and hot water for 20+ minutes is rough on skin. Get a pair rated for kitchen use, not the thin dishwashing ones.
– A basin or large tub: only needed if your sink isn’t big enough to submerge the filters flat. A cheap plastic tub works fine.
– Stainless steel cleaner(optional, stainless hoods only): for the finishing pass once the grease is gone, to bring back the shine and cut down on fingerprint marks going forward.
Step 1: Take the filters out first
Kitchen hood cleaning always starts the same way, regardless of hood style: pull the filters first. Almost every range hood has removable mesh or baffle filters: usually held in with a small clip or twist latch. Pull them and soak them separately from cleaning the hood itself. This is the single biggest upgrade to a normal wipe-down routine, because the filters hold the bulk of the grease and you can’t scrub them properly while they’re still installed.
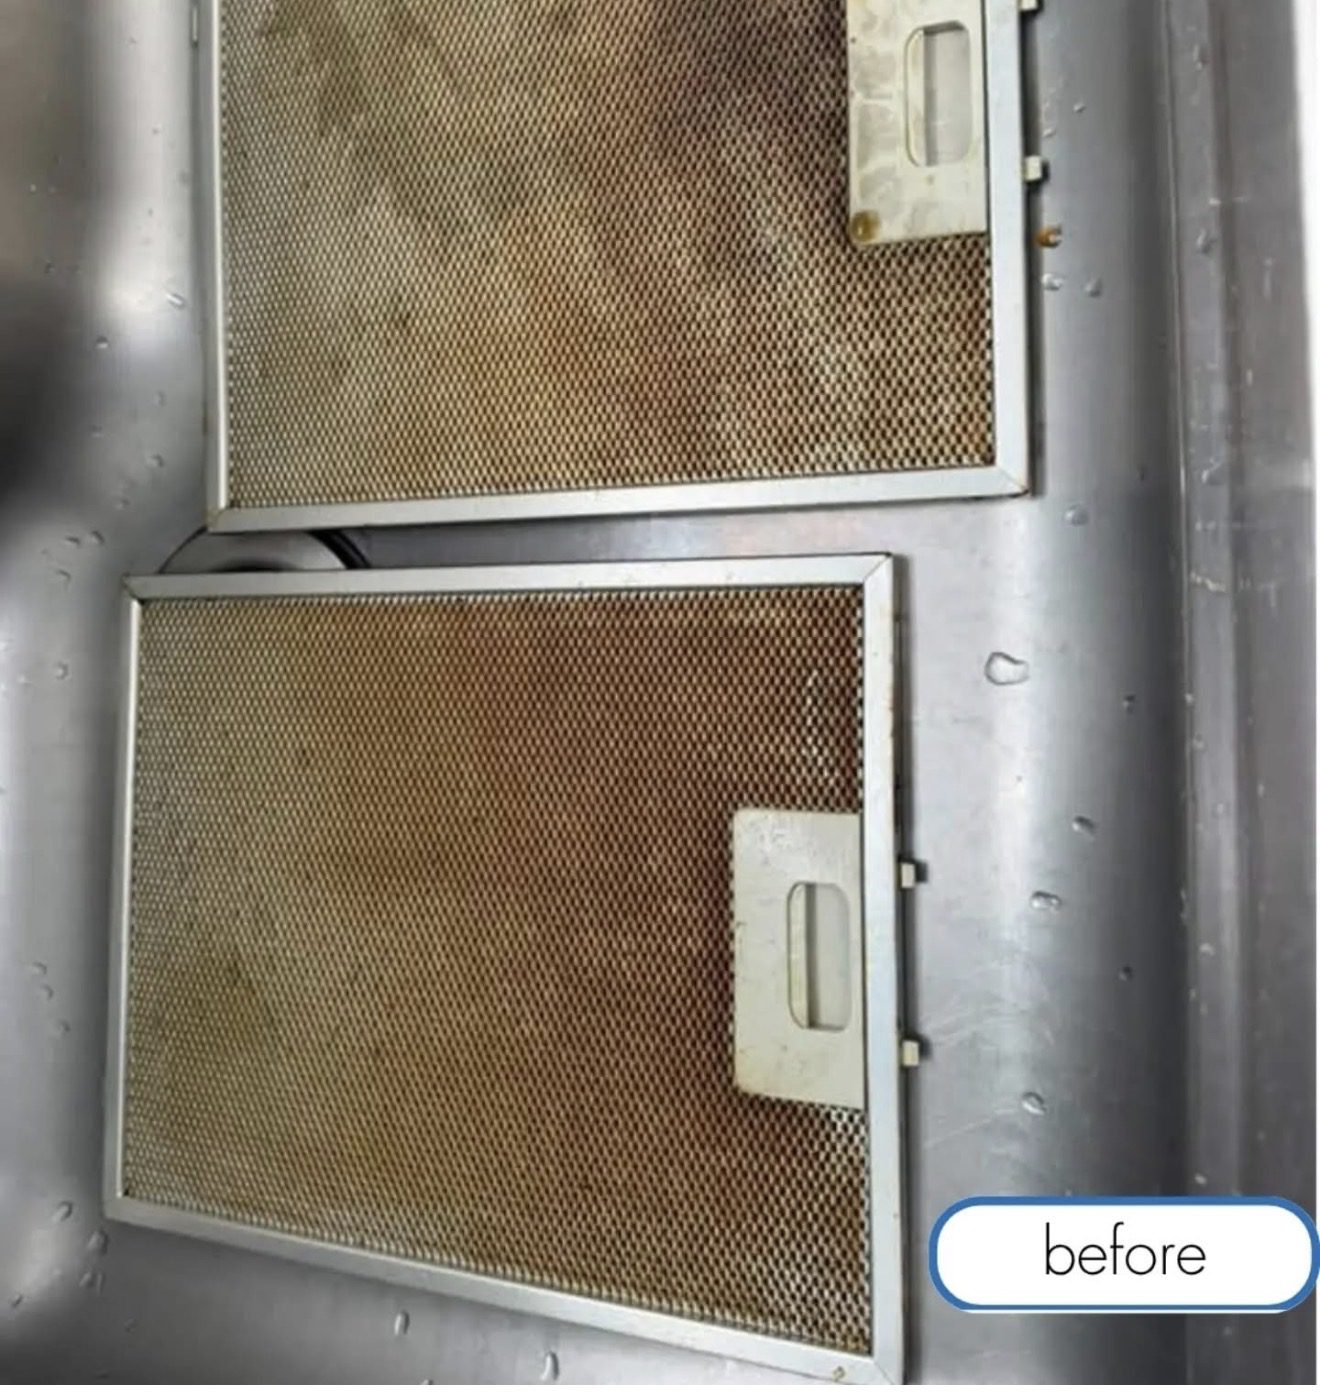
This soak is where most of the kitchen hood cleaning work actually happens, not in the scrubbing after. Fill your sink or a large basin with the hottest water your tap will give you, add a generous squirt of dish soap, and stir in about a quarter cup of baking soda. Submerge the filters completely and let them sit for at least 20 minutes. I usually go closer to 45 if it’s been a while. The baking soda reacts with the grease and starts lifting it off the metal before you’ve even touched a brush.
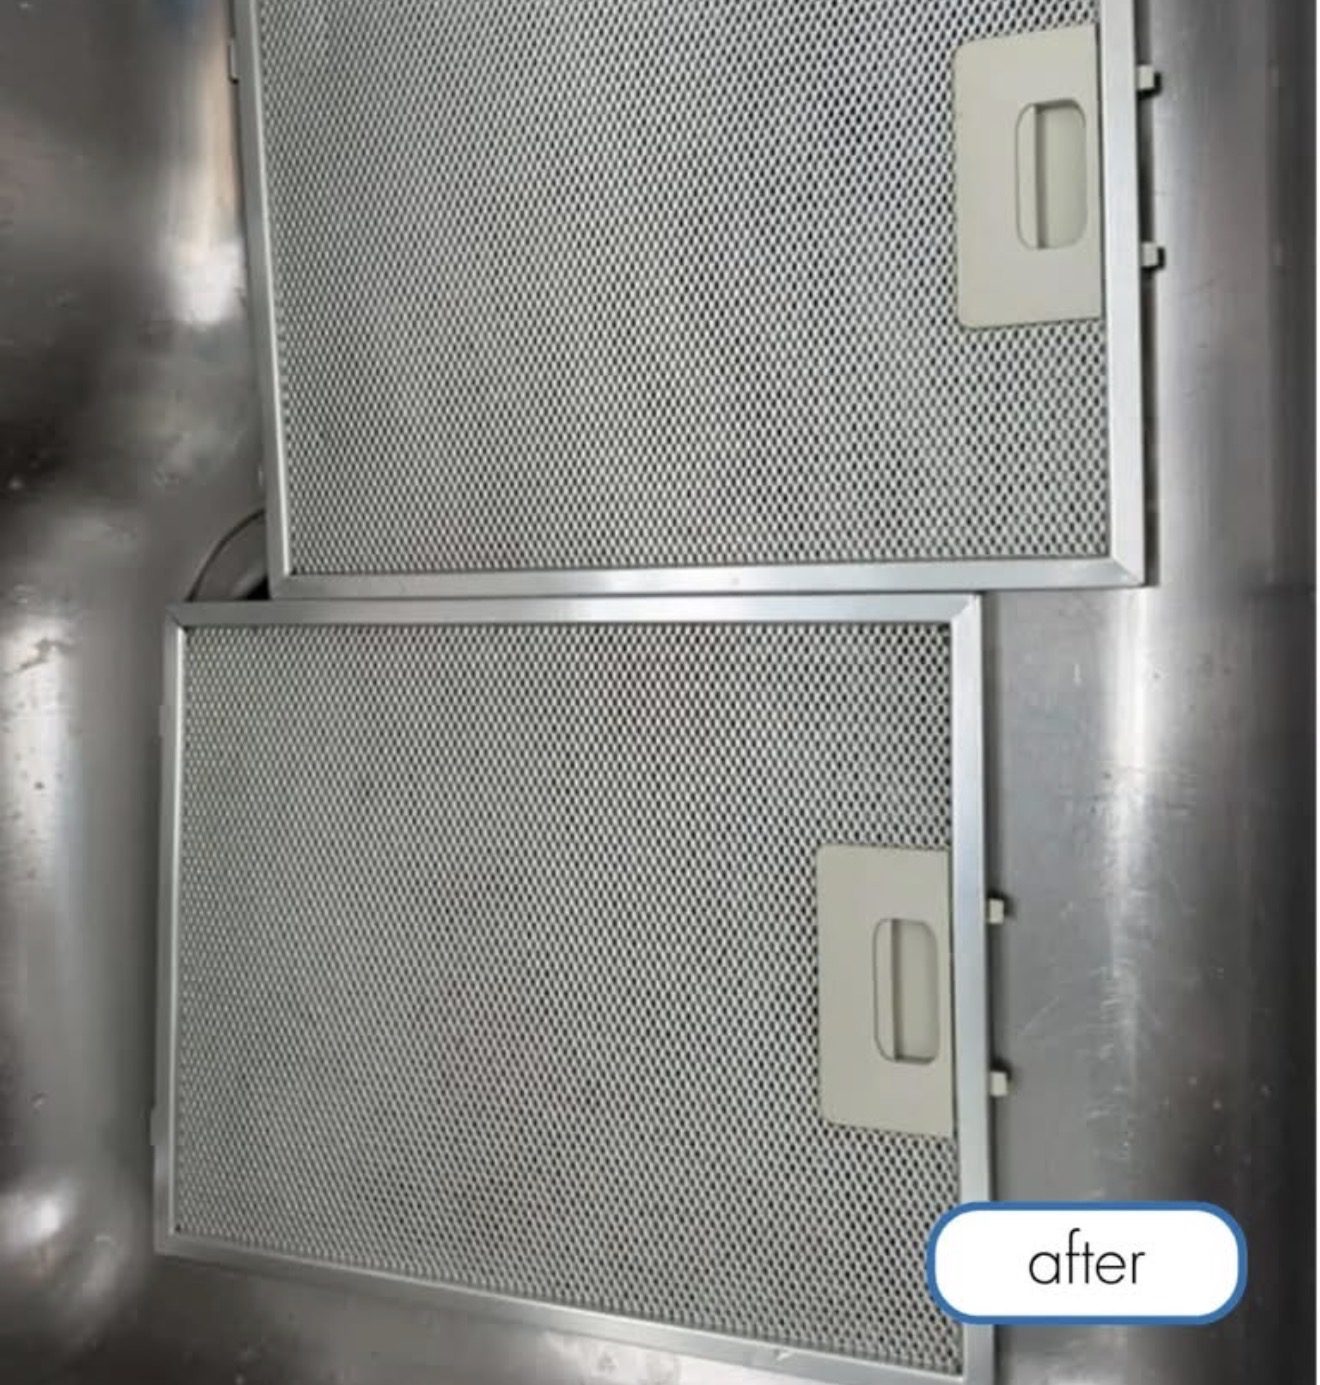
After soaking, scrub the mesh with an old toothbrush, working in the direction of the grid rather than in circles, and rinse under hot water until it runs clear. Baffle-style filters (the flat metal panels some hoods use) can usually go straight in the dishwasher on a hot cycle instead: check your manual once, and if it says dishwasher-safe, that’s the easier route.
Before: greasy metal mesh filtersAfter: the same filters cleaned
Step 2: Degrease the hood body
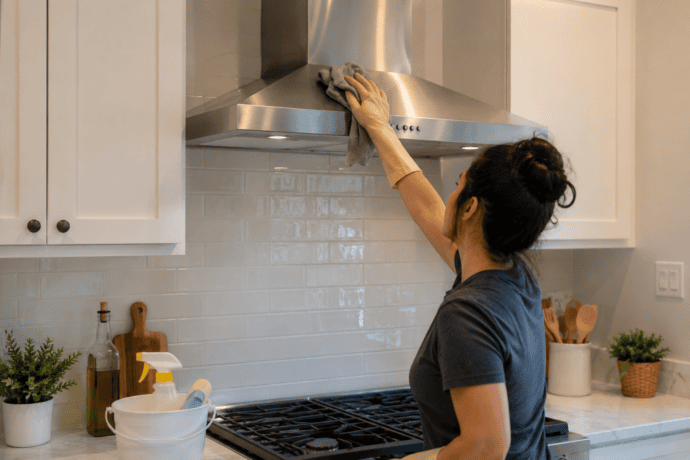
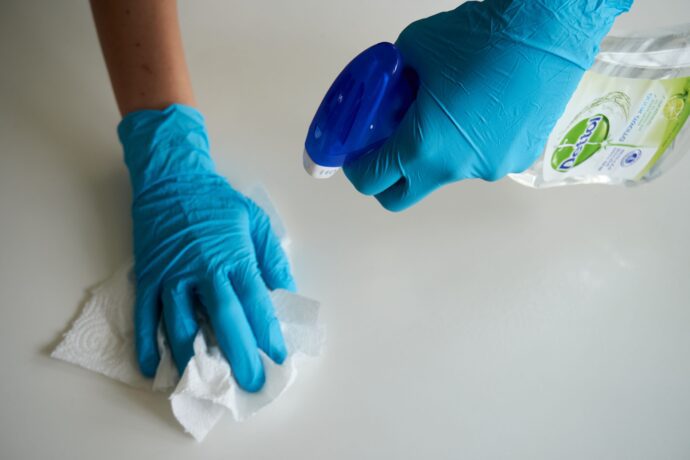
While the filters soak, tackle the hood itself: this is the other half of kitchen hood cleaning that people tend to rush. Spray or wipe on your degreaser and let it sit for 5 to 10 minutes: don’t scrub immediately, the dwell time is doing the work. Wipe with a microfiber cloth, turning it frequently so you’re not just redistributing grease across the surface. For stainless hoods, go with the grain of the metal, not against it, or you’ll leave streak marks that show up under kitchen lighting.
For the underside near the fan and any grease-catch cup or tray (a lot of hoods have a small collection cup: check yours), the degreaser usually needs a second pass. This is the spot people skip, and it’s the spot that smells rancid first.
If you’re dealing with a badly neglected hood, the kind where grease has gone thick and slightly sticky rather than just filmy, a paste of baking soda and a little water, left on for 15 minutes before wiping, will get through it without needing anything harsher.
Step 3: Reassemble and check the fan
This is the last stretch of kitchen hood cleaning: once the filters are dry (shake off excess water, then air dry or towel dry: don’t put them back in wet, that just attracts more dust), clip them back in. Wipe down the control panel and light covers with a barely damp cloth, since electronics and standing water don’t mix. Turn the fan on for a minute to make sure it’s running at full strength: a proper deep clean should noticeably improve airflow if it had gotten weak. Grease buildup in filters and ducts is one of the main causes of reduced ventilation performance, according to ENERGY STAR’s ventilation fan maintenance guidance.
Metal Mesh Filters vs. Charcoal Filters
Not every range hood filter is cleaned the same way, so check which type you have before you start.
Metal mesh or baffle filters: These are the washable ones. Soak them in hot water with a grease-cutting dish soap, scrub gently, rinse and let them dry fully before putting them back.
Charcoal (carbon) filters: These are found in ductless or recirculating hoods. They generally cannot be washed and need to be replaced. Your hood’s manual lists the replacement interval.
Some manufacturers advise against putting aluminum filters in the dishwasher because they can discolor, so check your manual before trying it.
A kitchen cleaning checklist that keeps this from piling up
Kitchen hood cleaning falls off the radar for a predictable reason: range hoods are easy to forget: they’re overhead, out of the direct line of sight, and nothing about a slightly dirty hood is urgent. A short standing checklist fixes that:
Weekly
– Wipe the visible hood surface with soapy water while you’re already doing other kitchen cleaning
– Wipe down the stovetop and backsplash: less splatter reaching the hood means less buildup up there too
Monthly
– Pull and hand-wash or dishwasher the filters
– Wipe the underside of the hood, including around the fan housing
Every 3–4 months
– Full degrease as above, including the grease-catch tray
– Check the exhaust duct opening for lint or grease buildup if your hood vents outside
Pin this list somewhere in the kitchen or keep it on your phone: spreading kitchen hood cleaning across small weekly and monthly tasks is what keeps it from becoming a project. The whole point is that a monthly filter rinse takes ten minutes, while letting it go for six months turns into an hour of scrubbing with a toothbrush and a strong opinion about your life choices. And while you’re on a roll with kitchen appliances people forget about,the dishwasher needs the same treatment more often than you’d think.
If none of this is happening today and you just need the kitchen presentable in the next hour, the “Restore Kitchen Calm” stretch ofthis realistic one-hour clean-up plancovers the visible surfaces without pretending it’s a deep clean.
Where this fits into a full kitchen deep clean
Here’s where kitchen hood cleaning fits into the bigger job: if you’re doing a proper kitchen deep clean, the kind where you empty cabinets, degrease the stovetop, and clean behind appliances, the hood should come before you wipe down counters and backsplash, not after. Grease and dust fall while you’re scrubbing overhead, and there’s no point cleaning the counters twice. Work top to bottom: hood and cabinet tops first, then appliance fronts and backsplash, then counters, then floors last.
A word on grease cleaner choice
Product choice matters less for kitchen hood cleaning than people assume, but not every grease cleaner is worth the shelf space. Anything with a strong citrus or orange-oil base cuts grease well but can leave a residue of its own on stainless surfaces if you don’t do a second wipe with plain water. Ammonia-based cleaners work fast but shouldn’t be mixed with anything containing bleach: that combination produces chloramine gas, and it’s an easy mistake to make if you’re cleaning the hood and the sink area back to back with different products. The [CDC’s chemical safety fact sheet on ammonia] is worth a read if you keep more than one type of cleaner under the sink. If you’d rather keep it simple, hot water, dish soap, and baking soda handle 90% of range hood grease without needing a specialty product at all. Save the commercial degreaser for the stuff that’s sat for months.
Shop this clean
Everything used in this method of kitchen hood cleaning, in one place:
Most kitchen hood cleaning is a DIY job. Call a professional cleaner or your appliance manufacturer’s service line if the grease has built up inside the ductwork itself rather than just on the visible filters and surfaces: that’s a fire hazard, not just a cosmetic one, and it’s not something you can reach with a toothbrush. [NFPA’s cooking equipment safety guidance] lists grease buildup as a recurring factor in home cooking fires. If your hood is more than a few years old and has never had the duct inspected, it’s worth having someone check it once, even if the visible parts look fine.
Keep up with the monthly filter rinse and the quarterly degrease, and kitchen hood cleaning stops being a six-month scrub-down and just becomes part of the routine.
Frequently asked questions
How often should you do kitchen hood cleaning?
Wipe the visible surface weekly, wash the filters monthly, and do a full degrease of the hood body and grease-catch tray every 3 to 4 months. Heavy cooking with a lot of oil pushes that toward the shorter end of each range.
Can range hood filters go in the dishwasher?
For this part of kitchen hood cleaning, it depends on the filter type. Flat baffle-style filters usually can: check your owner’s manual first. Mesh filters can technically survive a dishwasher cycle but tend to clean better with a hot soapy soak and a brush, since the dishwasher doesn’t always reach every layer of the mesh.
What’s the best homemade grease cleaner for a kitchen hood?
Hot water, a grease-cutting dish soap, and a quarter cup of baking soda handles most buildup without buying a specialty product. For grease that’s hardened over months, a baking soda paste left on for 15 minutes gives it more contact time before wiping.
Why does my range hood filter still look greasy after cleaning?
This is the most common kitchen hood cleaning mistake: usually it wasn’t soaked long enough: grease needs 20 to 45 minutes of hot, soapy water to fully loosen before scrubbing does much good. Wiping or scrubbing a cold, dry filter just spreads the grease around instead of lifting it.
Is grease buildup in a range hood actually a fire hazard?
Yes, and it’s the one part of kitchen hood cleaning that isn’t just cosmetic. Once it accumulates inside the ductwork rather than just on the visible filters, it stops being a DIY cleaning job and becomes something to have inspected professionally.
This article may contain affiliate links. If you purchase a product through one of these links, we may earn a small commission at no additional cost to you. We only recommend products we genuinely believe are useful and relevant to our readers. Thank you for supporting our website.




4 Comments